


需要准备的材料分别有:电脑、浏览器、html编辑器。
1、首先,打开html编辑器,新建html文件,例如:index.html,输入问题基础代码。
2、在index.html中的<script>标签中,输入js代码:
$('a').hover(function(){$('img').css('display','block')})
3、浏览器运行index.html页面,此时鼠标移动到超链接上,下面的图片自动显示了出来。
@charset "utf-8"/*科e互联特效基本框架CSS*/
body, ul, dl, dd, dt, ol, li, p, h1, h2, h3, h4, h5, h6, textarea, form, select, fieldset, table, td, div, input {margin:0padding:0-webkit-text-size-adjust: none}
h1, h2, h3, h4, h5, h6{font-size:12pxfont-weight:normal}
body>div{margin:0 auto}
div {text-align:left}
a img {border:0}
body { color: #333text-align: centerfont: 12px "微软雅黑"}
ul, ol, li {list-style-type:nonevertical-align:0}
a {outline-style:nonecolor:#535353text-decoration:none}
a:hover { color: #D40000text-decoration: none}
.clear{height:0overflow:hiddenclear:both}
.button {display: inline-blockzoom: 1*display: inlinevertical-align: baselinemargin: 0 2pxoutline: nonecursor: pointertext-align: centertext-decoration: nonefont: 14px/100% Arial, Helvetica, sans-serifpadding:0.25em 0.6em 0.3emtext-shadow: 0 1px 1px rgba(0,0,0,.3)-webkit-border-radius: .5em-moz-border-radius: .5emborder-radius: .5em-webkit-box-shadow: 0 1px 2px rgba(0,0,0,.2)-moz-box-shadow: 0 1px 2px rgba(0,0,0,.2)box-shadow: 0 1px 2px rgba(0,0,0,.2)
}
.red {color: #fadddeborder: solid 1px #980c10background: #d81b21background: -webkit-gradient(linear, left top, left bottom, from(#ed1c24), to(#A51715))background: -moz-linear-gradient(top, #ed1c24, #A51715)filter: progid:DXImageTransform.Microsoft.gradient(startColorstr='#ed1c24', endColorstr='#aa1317')
}
.red:hover { background: #b61318background: -webkit-gradient(linear, left top, left bottom, from(#c9151b), to(#a11115))background: -moz-linear-gradient(top, #c9151b, #a11115)filter: progid:DXImageTransform.Microsoft.gradient(startColorstr='#c9151b', endColorstr='#a11115')color:#fff}
.red:active {color: #de898cbackground: -webkit-gradient(linear, left top, left bottom, from(#aa1317), to(#ed1c24))background: -moz-linear-gradient(top, #aa1317, #ed1c24)filter: progid:DXImageTransform.Microsoft.gradient(startColorstr='#aa1317', endColorstr='#ed1c24')}
.cor_bs,.cor_bs:hover{color:#ffffff}
.keBody{background:url(../images/bodyBg.jpg) repeat #333}
.keTitle{height:100pxline-height:100pxfont-size:30pxfont-family:'微软雅黑'color:#FFFtext-align:centerbackground:url(../images/bodyBg3.jpg) repeat-x bottom leftfont-weight:normal}
.kePublic{background:#dfdfdfpadding:50px}
.keBottom{color:#FFFpadding-top:25pxline-height:28pxtext-align:centerfont-family:'微软雅黑'background:url(../images/bodyBg2.jpg) repeat-x top leftpadding-bottom:25px}
.keTxtP{font-size:16pxcolor:#ffffff}
.keUrl{color:#FFFfont-size:30px}
.keUrl:hover{ text-decoration: underlinecolor: #FFF}
.mKeBanner,.mKeBanner div{text-align:center}
/*科e互联特效基本框架CSS结束,应用特效时,以上样式可删除*/
/* 效果CSS开始 */
body {
-webkit-backface-visibility: hidden
}
.demo {
margin: 0px auto
text-align:center
}
.nav li{
position: relative
display: inline-block
margin-left: -50px
-webkit-transition: all 0.4s linear
-moz-transition: all 0.4s linear
-o-transition: all 0.4s linear
-ms-transition: all 0.4s linear
transition: all 0.4s linear
}
.nav li a {
display: inline-block
width: 120px
height: 120px
padding: 30px
border-radius: 50%
border-width: 8px
border-style: solid
}
.nav li:hover {
z-index: 11
-webkit-transform: scale(1.1)
-moz-transform: scale(1.1)
-o-transform: scale(1.1)
-ms-transform: scale(1.1)
transform: scale(1.1)
}
.nav li:hover a {
text-decoration: none
}
.nav li:hover span {
-webkit-transition: all 0.4s linear
-moz-transition: all 0.4s linear
-o-transition: all 0.4s linear
-ms-transition: all 0.4s linear
transition: all 0.4s linear
-webkit-animation: moveFromBottom 0.3s ease
-moz-animation: moveFromBottom 0.3s ease
-o-animation: moveFromBottom 0.3s ease
-ms-animation: moveFromBottom 0.3s ease
animation: moveFromBottom 0.3s ease
}
.nav li:nth-child(1) a {
color: #4d9683
text-shadow: 0 1px 0 #9de3cf
border-color: #549e89
background-color: #51c9a7
}
.nav li:nth-child(2) a {
color: #be607e
text-shadow: 0 1px 0 #de8ba5
border-color: #e499b0
background-color: #e67b9c
}
.nav li:nth-child(3) a {
color: #5e9eb4
text-shadow: 0 1px 0 #adddec
border-color: #a2cfde
background-color: #7ec9e3
}
.nav li:nth-child(4) a {
color: #ba9d5e
text-shadow: 0 1px 0 #f5e0ad
border-color: #dcc999
background-color: #f0cd78
}
.nav li:nth-child(5) a {
color: #b468a2
text-shadow: 0 1px 0 #e8acd8
border-color: #d8abcd
background-color: #dd91cb
}
.nav li:nth-child(1):hover a {
color: #0f775c
text-shadow: 0 1px 0 #81e6c9
border-color: #0a8462
background-color: #00c18c
}
.nav li:nth-child(2):hover a {
color: #b12a55
text-shadow: 0 1px 0 #ff95b7
border-color: #ba335c
background-color: #ea5180
}
.nav li:nth-child(3):hover a {
color: #2883a2
text-shadow: 0 1px 0 #9cdef2
border-color: #4397b3
background-color: #55c1e5
}
.nav li:nth-child(4):hover a {
color: #ab8228
text-shadow: 0 1px 0 #ffe199
border-color: #b08f3e
background-color: #f8c64d
}
.nav li:nth-child(5):hover a {
color: #a33689
text-shadow: 0 1px 0 #ec97d6
border-color: #b7569f
background-color: #dd70c3
}
.nav span {
display: block
line-height:70px
font-size: 30px
font-style: normal
}
.nav span:before {
display: block
}
.nav li:nth-child(1) span:before {
content: "home"
}
.nav li:nth-child(2) span:before {
content: "phone"
}
.nav li:nth-child(3) span:before {
content: "wifi"
}
.nav li:nth-child(4) span:before {
content: "setting"
}
.nav li:nth-child(5) span:before {
content: "twitter"
}
@-webkit-keyframes moveFromBottom {
from {
-webkit-transform: translateY(120%) scale(0.5)
opacity: 0
}
to {
-webkit-transform: translateY(0%) scale(1)
opacity: 1
}
}
@-moz-keyframes moveFromBottom {
from {
-moz-transform: translateY(120%) scale(0.5)
opacity: 0
}
to {
-moz-transform: translateY(0%) scale(1)
opacity: 1
}
}
@-ms-keyframes moveFromBottom {
from {
-ms-transform: translateY(120%) scale(0.5)
opacity: 0
}
to {
-ms-transform: translateY(0%) scale(1)
opacity: 1
}
}
@-o-keyframes moveFromBottom {
from {
-o-transform: translateY(120%) scale(0.5)
opacity: 0
}
to {
-o-transform: translateY(0%) scale(1)
opacity: 1
}
}
@keyframes moveFromBottom {
from {
transform: translateY(120%) scale(0.5)
opacity: 0
}
to {
transform: translateY(0%) scale(1)
opacity: 1
}
}
.nav span:before {
font-family: 'LigatureSymbols'
text-rendering: optimizeLegibility
-webkit-font-smoothing: antialiased
-moz-font-smoothing: antialiased
-ms-font-smoothing: antialiased
-o-font-smoothing: antialiased
font-smoothing: antialiased
-webkit-font-feature-settings: "liga" 1, "dlig" 1
-moz-font-feature-settings: "liga=1, dlig=1"
-ms-font-feature-settings: "liga" 1, "dlig" 1
font-feature-settings: "liga" 1, "dlig" 1
font-size: 80px
}
@font-face {
font-family: 'LigatureSymbols'
src: url('../font/LigatureSymbols-2.05.eot')
src: url('../font/LigatureSymbols-2.05.eot?#iefix') format('embedded-opentype'),
url('../font/LigatureSymbols-2.05.woff') format('woff'),
url('../font/LigatureSymbols-2.05.ttf') format('truetype'),
url('../font/LigatureSymbols-2.05.svg#LigatureSymbols') format('svg')
font-weight: normal
font-style: normal
}
/* 效果CSS结束 */
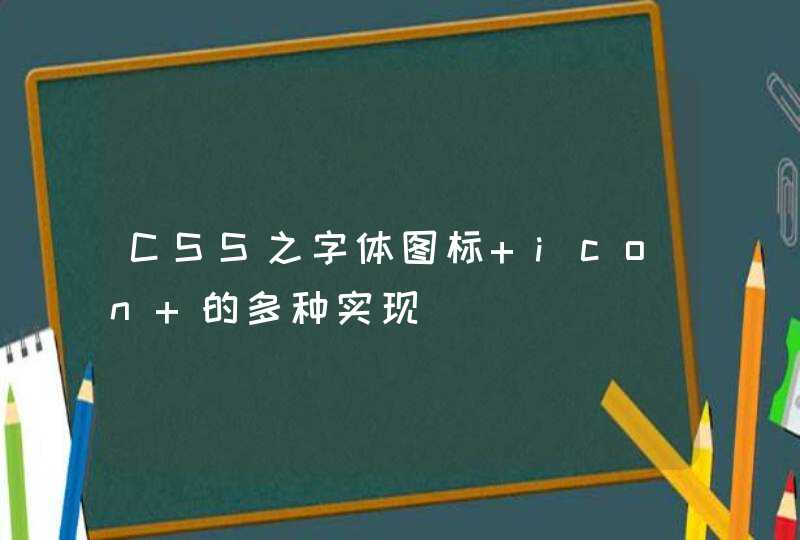
1、准备切换图片素材,一般是两张,如图,放入img文件夹,跟HTML同级。
2、然后用img嵌入到网页,嵌入其中的一张,另外一张待会切换。
3、如图,现在是静态的,鼠标放上去也不会产生切换反应,因为没有用JS。
4、如图,获取img,转成JS对象,加个[0]就可以转js对象了。
5、然后设定经过事件,切换成另一张图片,这样就产生鼠标经过切换图片的效果了。
6、但是一旦鼠标离开了,就要切换回原来的图片素材,所以再加一个离开事件,这样离开后就变换成原来的图片。
7、如图,现在我的鼠标在图片上,就变成twopicture了。